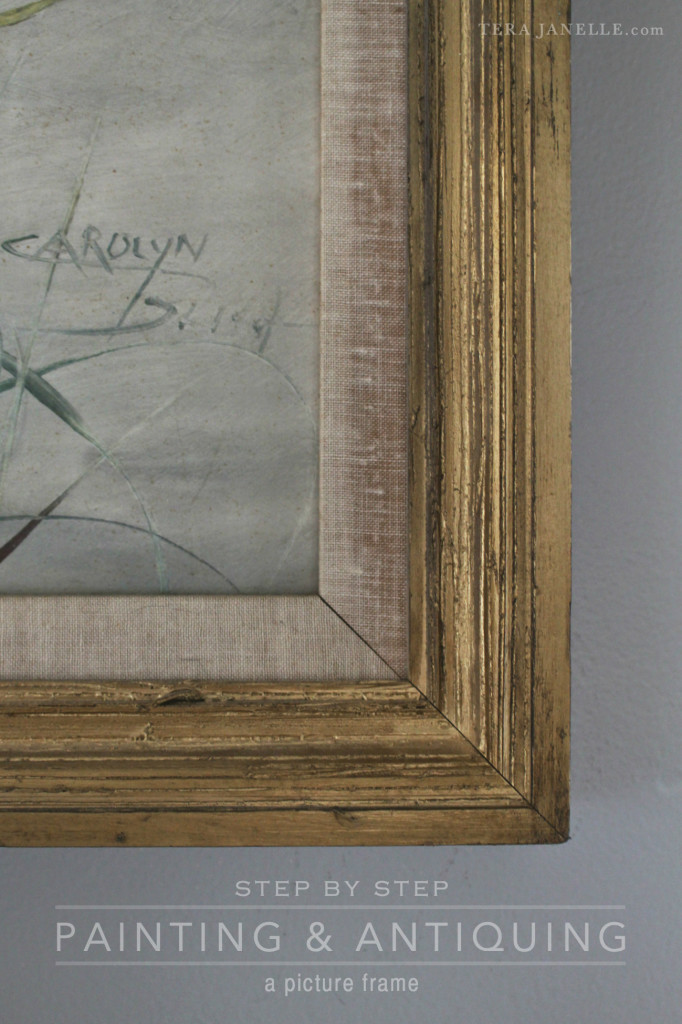
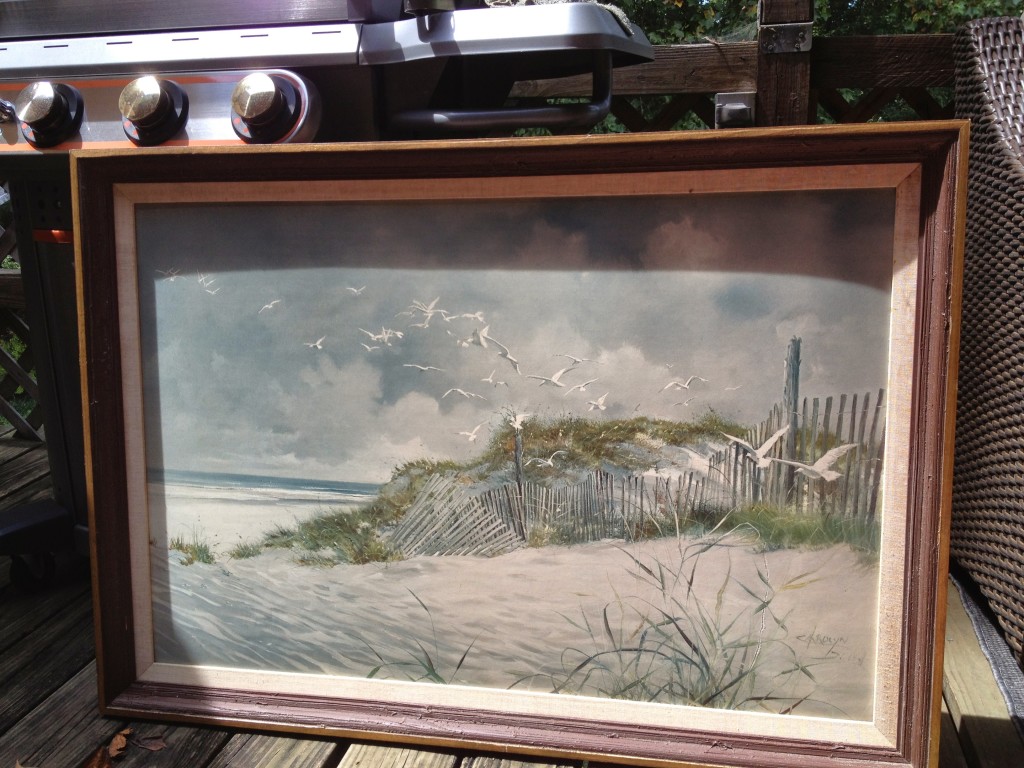
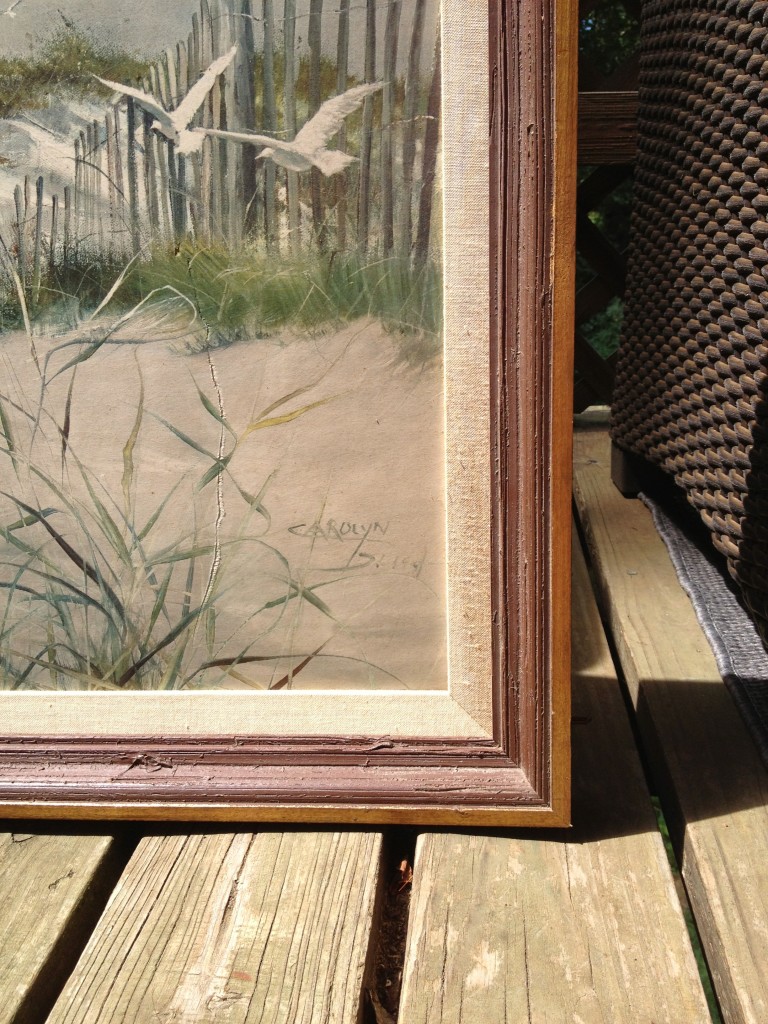
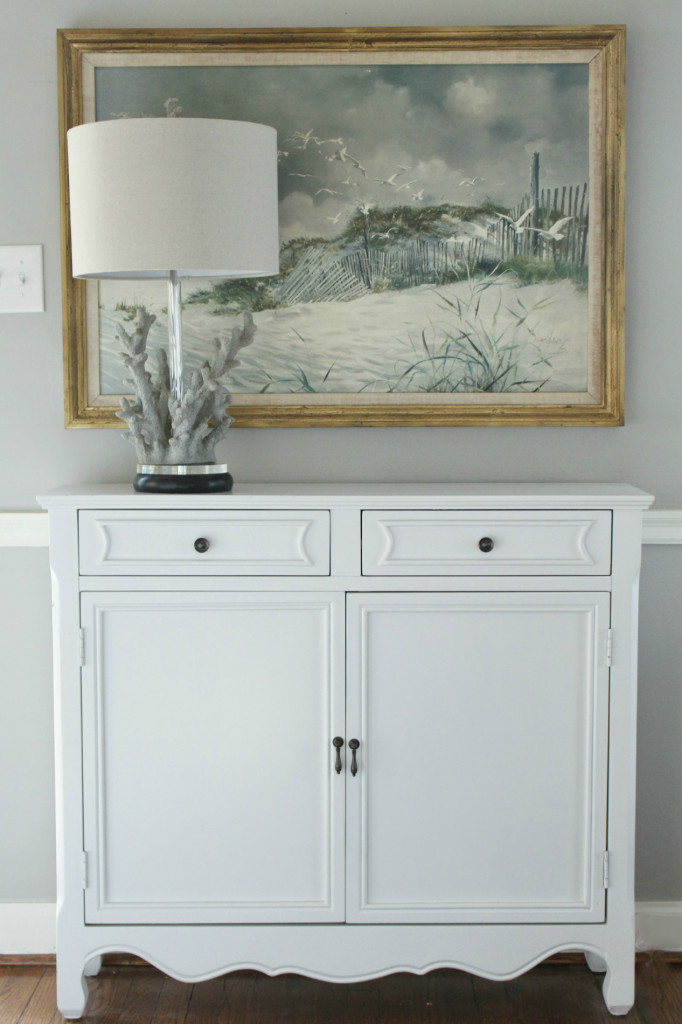
Let me start by saying I often go to thrift stores and strike out entirely. We live in a college town. My competition is fierce and flea markets are prevalent. So thrift stores [in this case the DAV Thrift Store] are often low on home goods, much less awesome home goods. But on this day, I struck Seaside Gold. Well at the time it was a dirty wood frame and dingy print, but by day’s end… GOLD.
Affordable artwork B & I both love [= seascapes] only comes along in our price range once in a great while. So when that while strikes, we jump. In this case, I jumped. And at only $8, I jumped fast.
PAINTING & ANTIQUING A PICTURE FRAME
{ Materials }
$5 DAV Thrift Store framed print
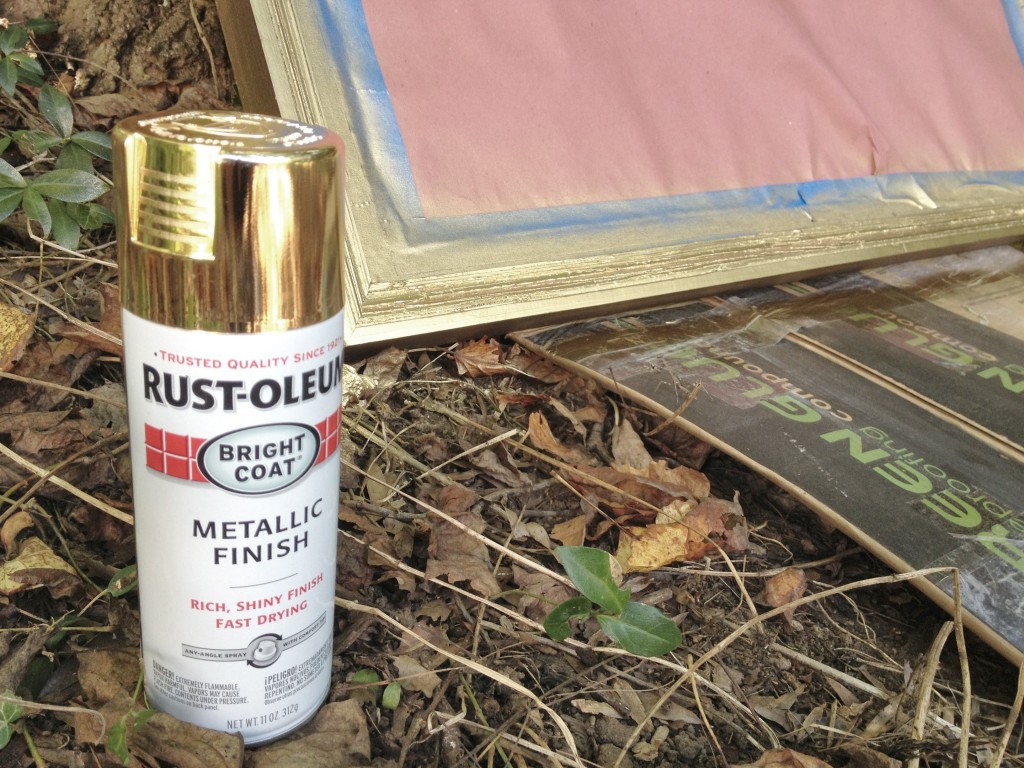
Leftover cans of Rustoleum Gold Spray Paint
Leftover Dark Walnut gel stain
Cardboard
Rosin paper
Painter’s Tape
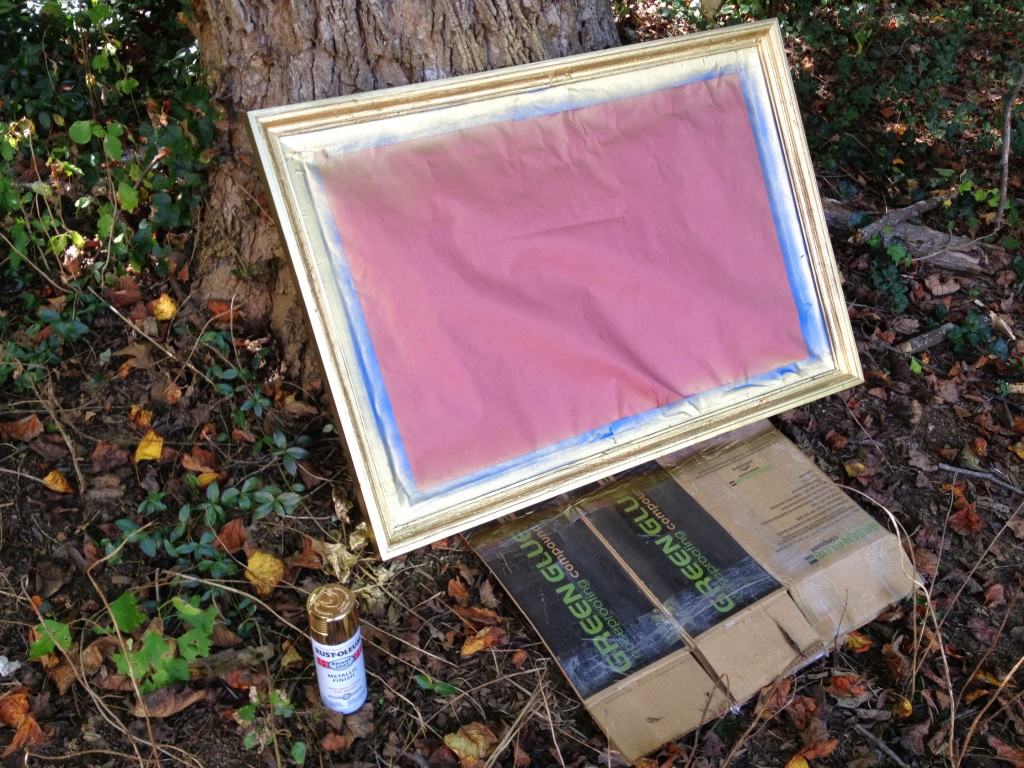
Step 1 \\ Cover the painting with rosin paper, being sure to leave the frame exposed.
Step 2 \\ Spray paint the frame with gold spray paint [anticipate 3-4 coats].
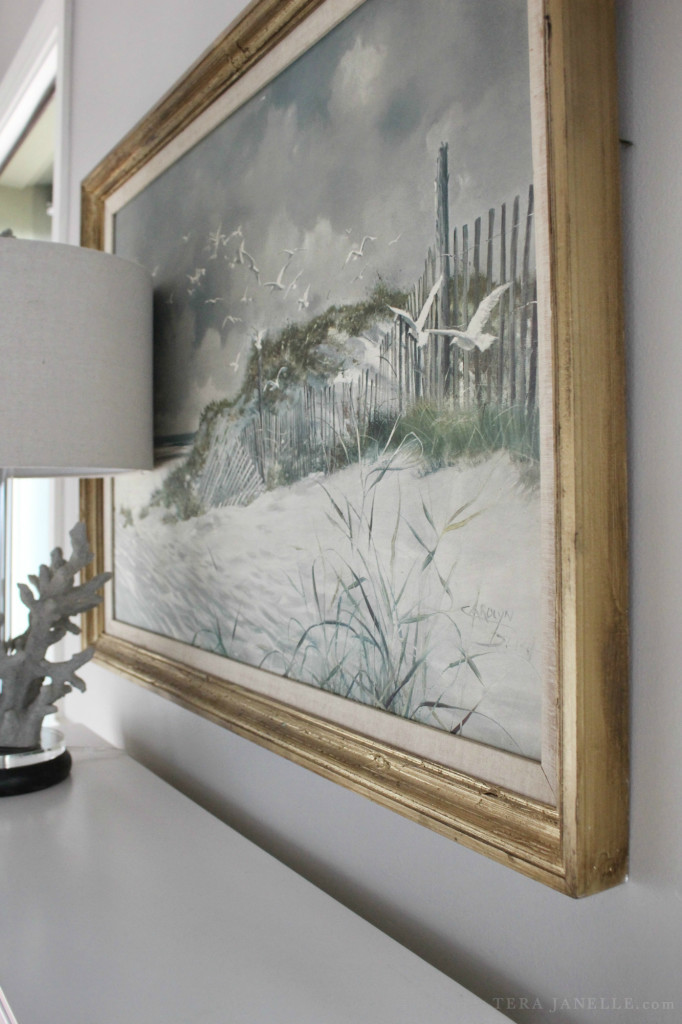
Step 3 \\ Wait 1-2 hours for the frame to dry and then rub with cloth dipped in stain, immediately wiping off the excess stain with a clean rag. [Gel stain not necessary, just what we had on hand.] The stain will settle in the cracks and crevices of the frame and tone down the gold paint, giving the framed an aged look. Gold spray paint alone can look entirely too Liberace. [Apologies, I forgot to take a picture of this step.]
Step 4 \\ Wait 24 hours, and then hang on your wall! If your artwork lacks a method for hanging, attach hooks or picture wire, depending on the weight of the piece. Two picture hangers can carry significantly more weight than most picture wire, assuming they are securely attached. See packaging for suggested weight allowances. This print & frame were surprisingly light, so picture wire worked great.
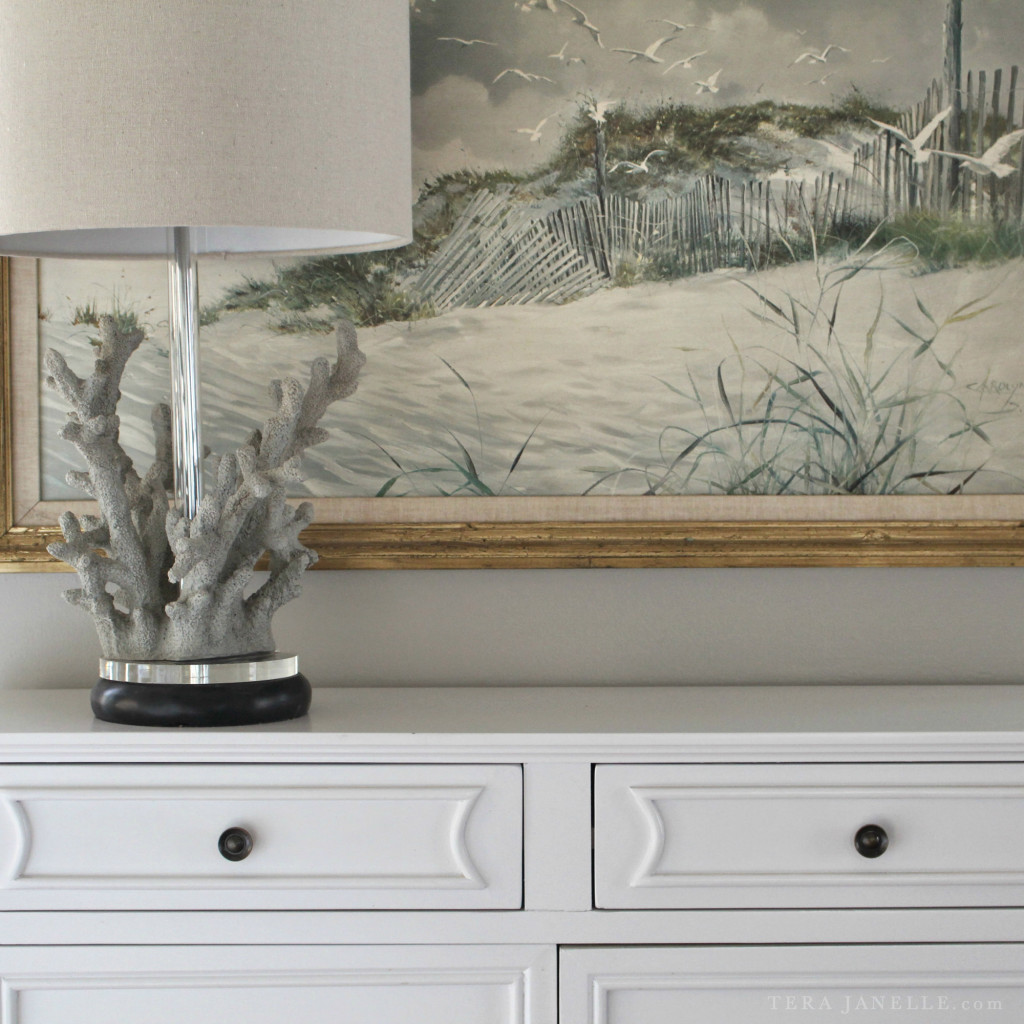
A seaside view for my land-locked life!
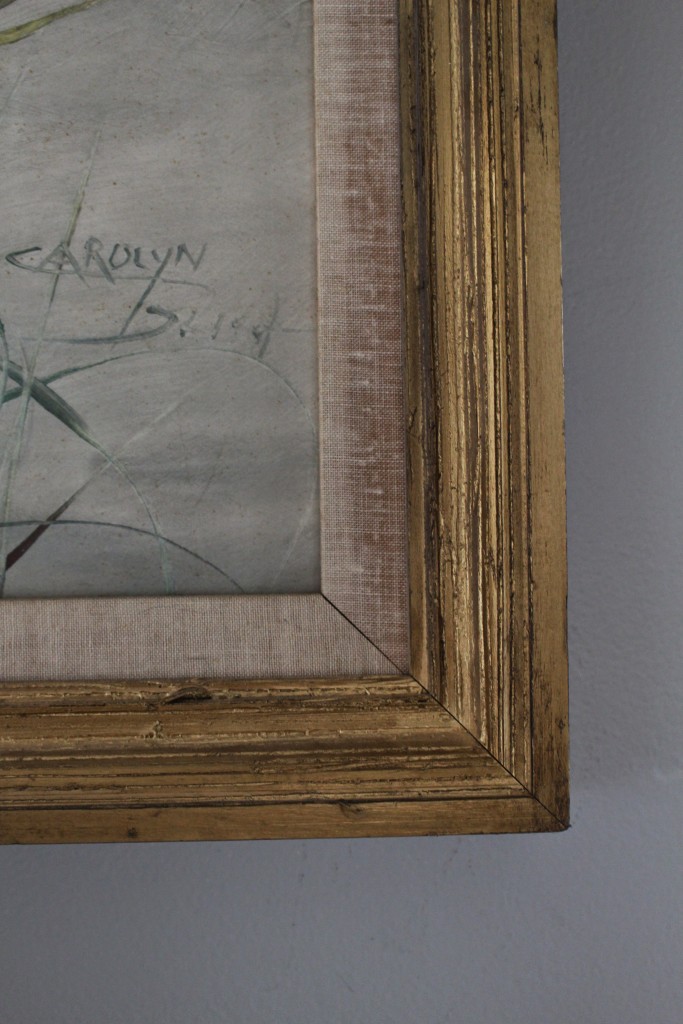
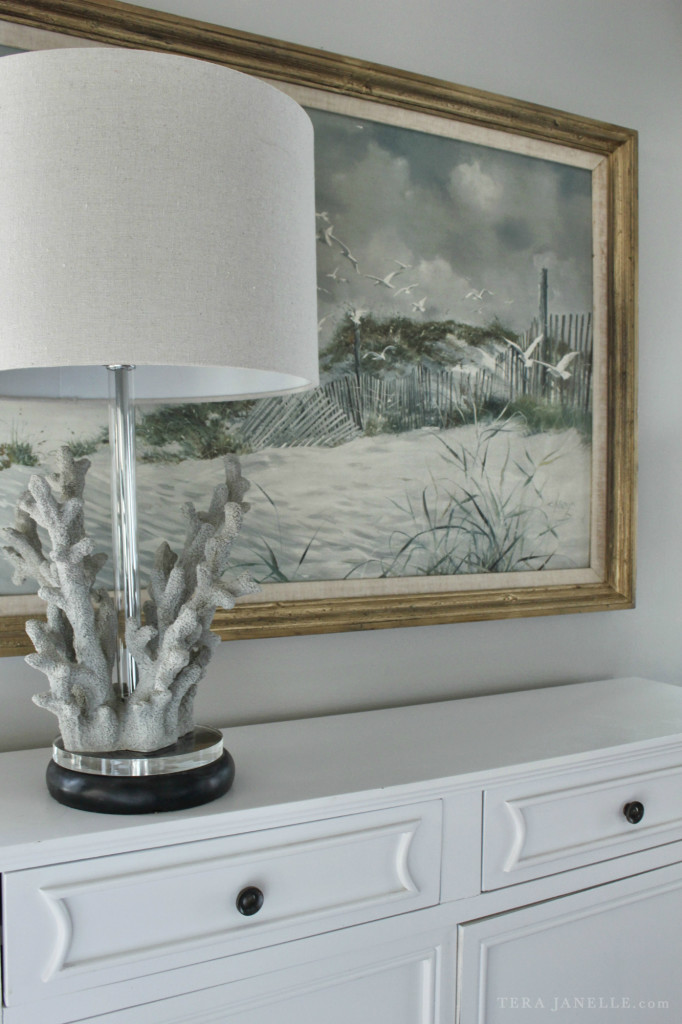


Would you use this same process with other colors? Or would the stain give too much contrast on say a painted white or teal frame your wanted to distress?
First, I am smitten by the idea of applying this process to a teal frame!! I’d suggest a liquid stain on a rag (rather than a gel stain) so you’ll have a bit more control in how heavy the stain goes on. The stain will settle in the cracks of a frame, adding dimension, but generally wipes off quite cleanly from any flat surfaces, adding a nice but subtle depth of color. Antiquing + Teal = dreamy plan! Keep me updated on how it turns out!