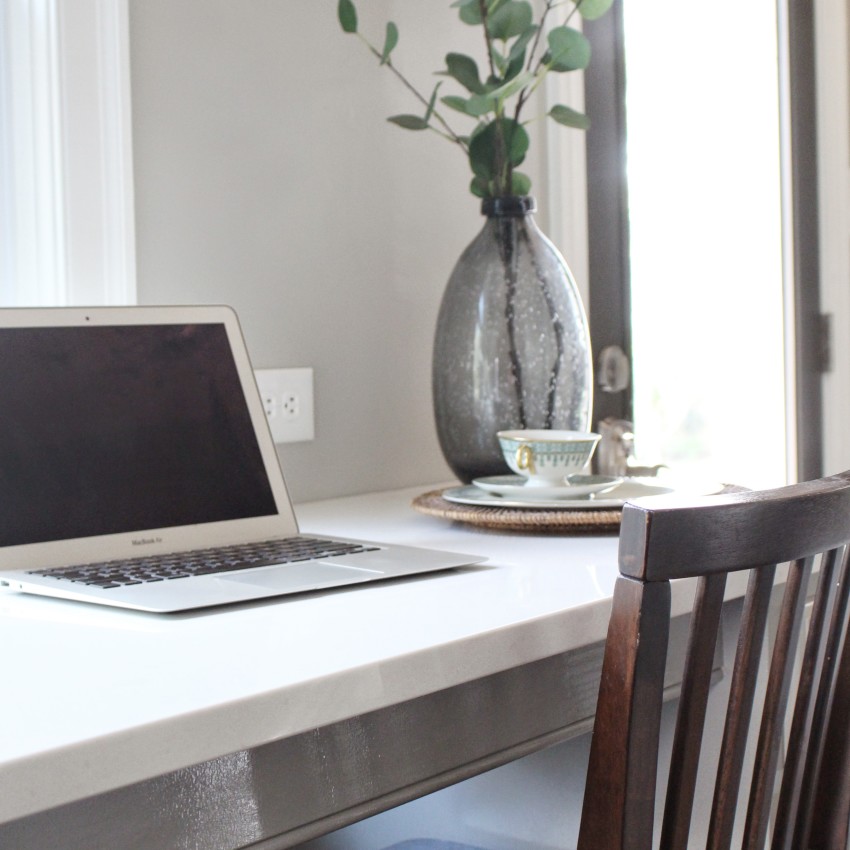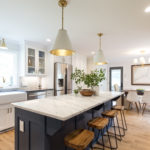
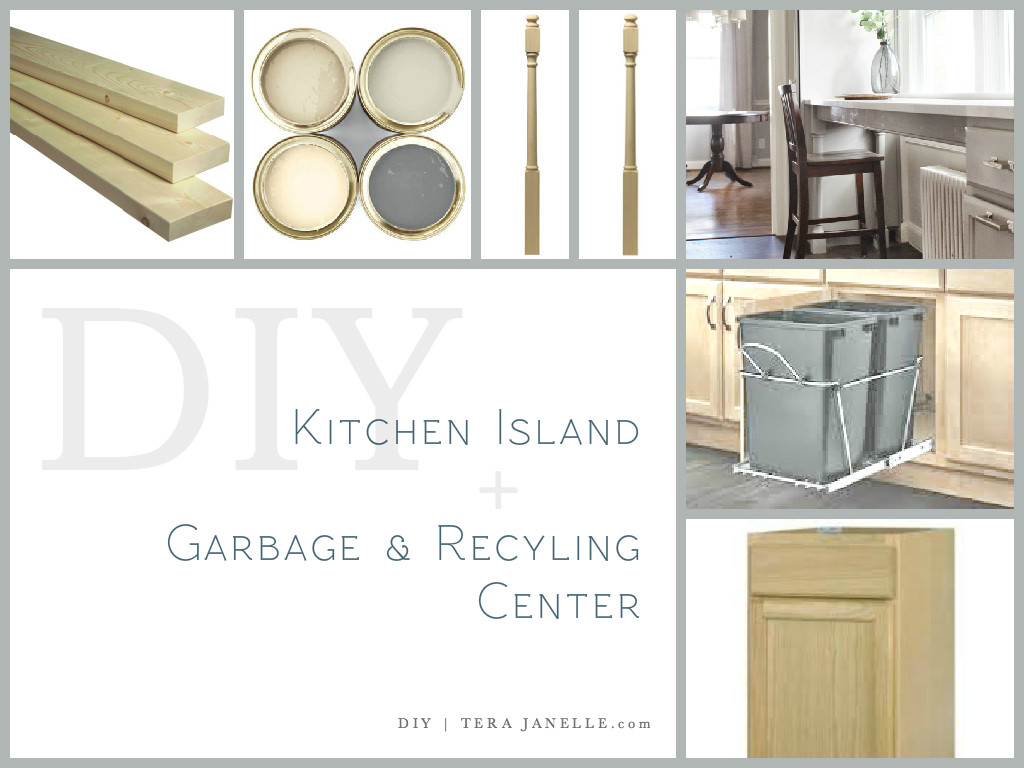
Steps 8 & 11 of our kitchen design plan involved building a custom furniture-style island. Here was the plan:
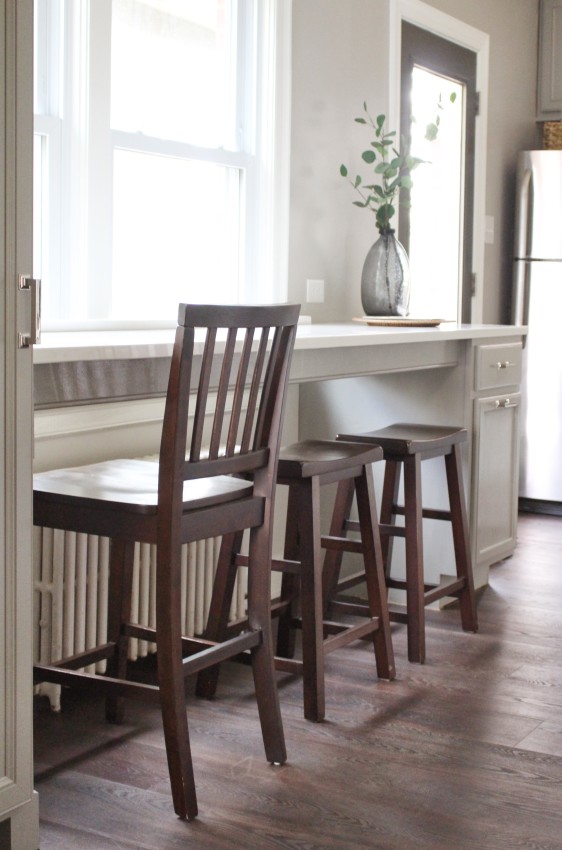
8 // Bar Stools & Eat-In Space: I’m both stressed about and excited for the eat-in counter. The square footage of the kitchen is adequate for an eat in space, but the placement of the radiator and windows is going to make things tricky. This will be a unique DIY project to be sure. We’ve got our sketch pads out! (Though we’re stick-figure level artists, prepare yourselves.)
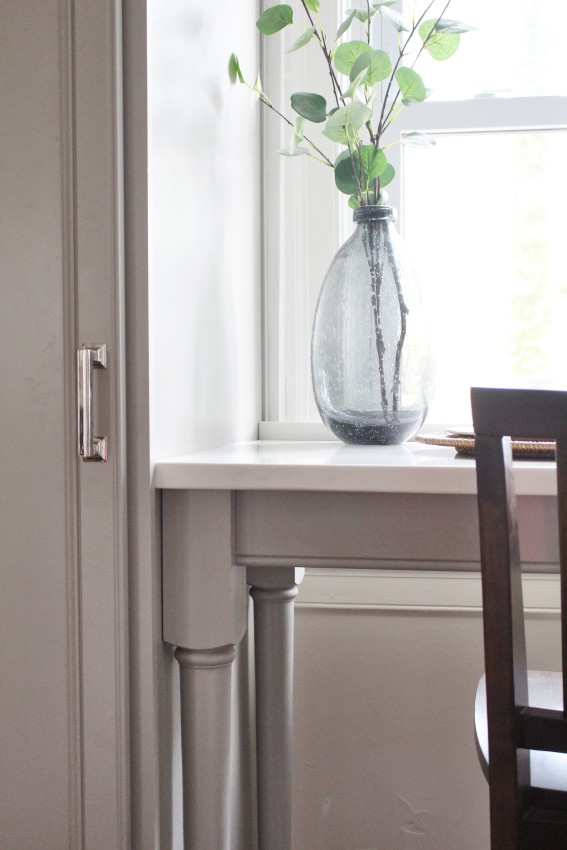
11 // Furniture Style Island Design: Island isn’t the right word – it’ll be more of an eat-in counter/peninsula along the window wall, but I’d like it to feel more like a piece of furniture than cabinetry. Like the turned legs of this beautiful kitchen inspiration by Sarah Richardson! I wouldn’t mind the wine fridge too, but I’ll have to stick to just the turned legs. :)
Initially I’d planned for the peninsula to have four traditional-style table legs, like this Margot Austin design.
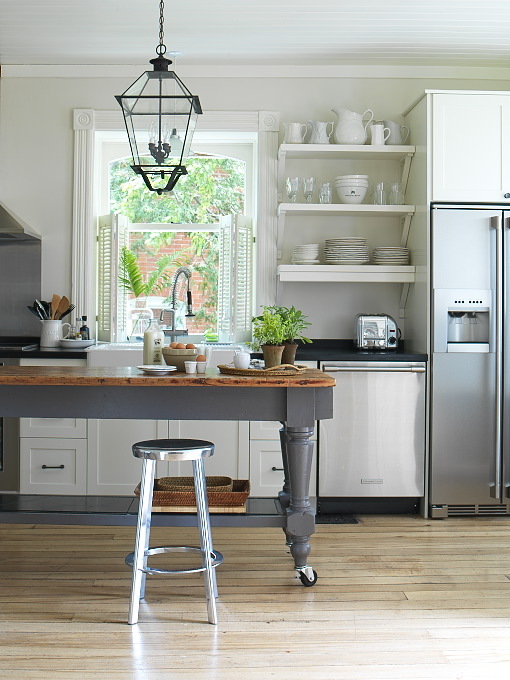
{via Margot Austin}
But as we were planning and prepping and (taking all that time) to build the island, I went about-crazy without a designated pull-out garbage & recycling center in the kitchen. I thought I’d be okay with a smaller set-up under the kitchen sink, but I was so very wrong! I missed this guy: Rev-A-Shelf. We’d had him in our last 4 kitchens, and I couldn’t function without him! So we adapted what was intended to be a built-in peninsula/table to include a cabinet with pull-out garbage & recycling. In the end, I think I like the final design even more, both practically and aesthetically. Isn’t it lovely when that happens?
The peninsula design had to accommodate some tricky elements:
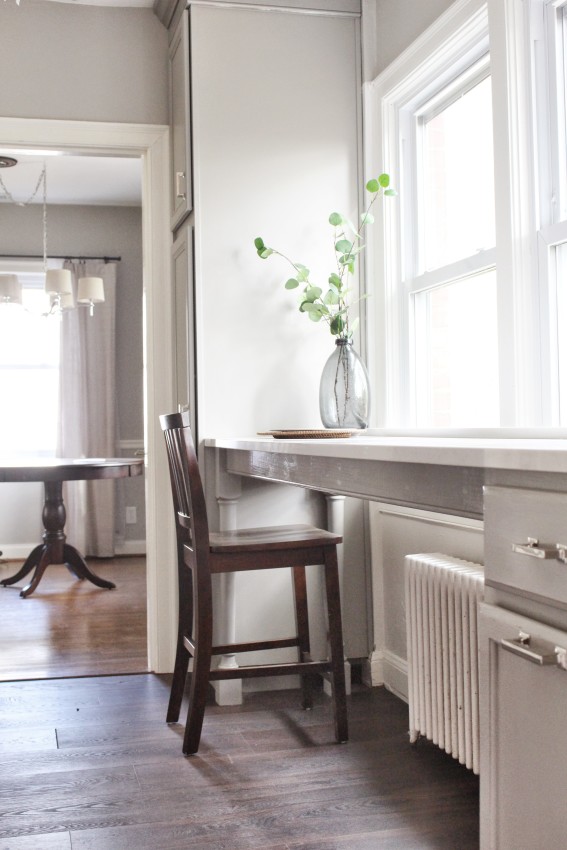
THE RADIATOR: The radiator is located under the double windows, and there was no other space to relocate it in the room. So the build had to allow for airflow to evenly heat the room, hence the table-style design, rather than a solid bank of cabinetry.
THE WINDOW: I wanted the peninsula at countertop height for additional prep space, and I worried a table-height option would make the room look off-balance, especially with the peninsula adjoining a 9 foot tall pantry cabinet. (Gotta love those historic high ceilings!). However, a counter-height peninsula cut into the window height (ie. the windows dropped below 30” counter height). So we had to get creative.
We decided to notch out the counters because 1) it looked good and 2) it allowed access to open the double hung windows. Then we had a custom ¾” x ¾” stone countertop ledge made to border the cut-out. The ledge will save things from escaping off the back of the peninsula counter (pens & papers, cheerios, and renegade crackers). And it just looked better with the border than without!
DISH TOWEL BAR: I have this ridiculous pet peeve about dish towels hanging on our oven handle. I wanted somewhere for the dish towels to hang that they would be easily accessible but out of view. The end of the island provided the perfect spot! We used a (super) inexpensive bath towel bar and simply cut it down to size to fit the cabinet.
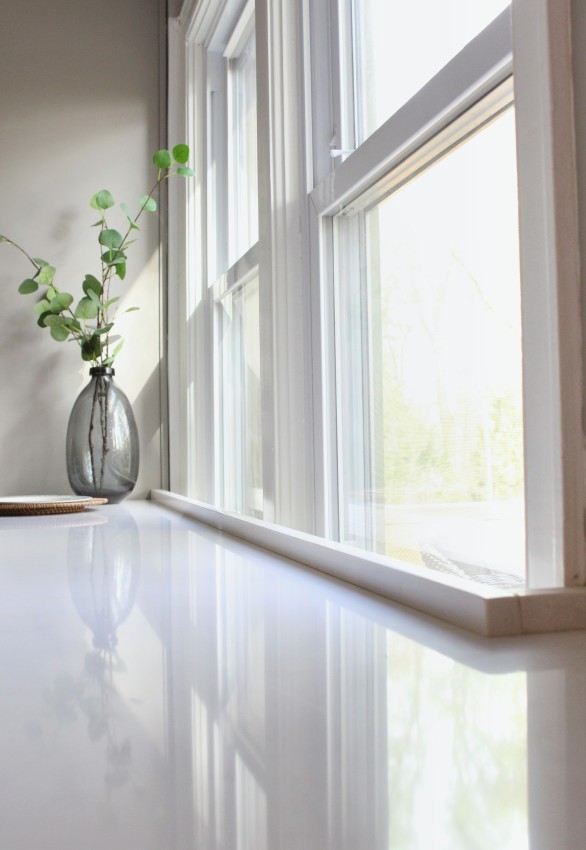
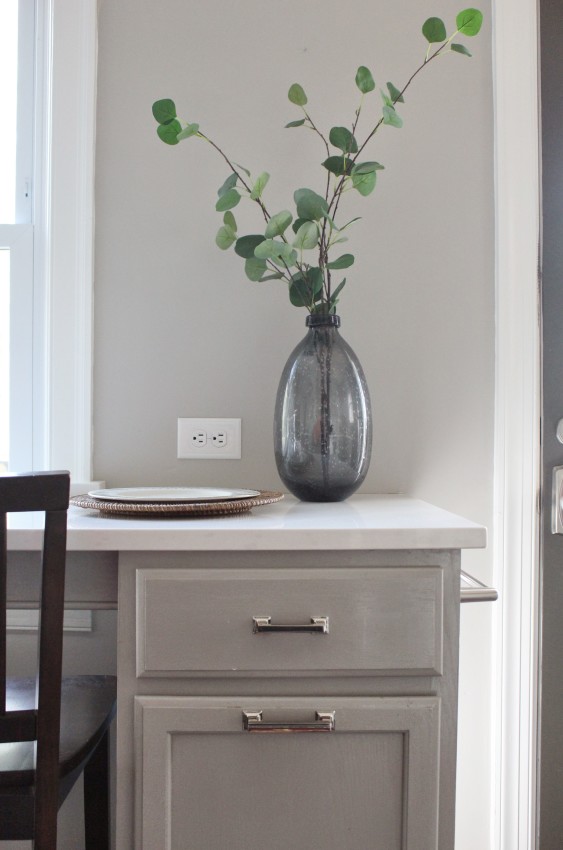
BREAKDOWN OF MATERIALS
2 – Poplar Unfinished newel posts
4 – 2×4’s
1 – Base molding (8’ length)
1 – 18” unfinished cabinet base
1 – 27 quart Pull-Out Garbage Kit
2 – Polished Nickel Cabinet Pulls
1 – Brushed Nickel Hand Towel Rack (it’s okay to mix metals!)
Paint to match the cabinets (this stuff is magic!)
Ben handled the majority of the build. I hopped around on top of the peninsula frame periodically, to ensure it didn’t flex and would in fact hold the counters. (I’m great at this job.) Then it took me a good 4 coats of paint to disguise the pesky grain of the newel posts and unfinished base cabinet. But in the end, I think the peninsula turned out QUITE STUNNING!! And I have a convenient garbage and recycling center once again, a drop-spot for groceries, and loads of counter space. I love it when beauty & practicality collide!!
We second-guessed whether we should have ordered the 18” base cabinet to match the rest of the cabinetry, but it costs $235 more than the unfinished stock option at Home Depot, and I still needed to buy appliances and light fixtures. So in the end we chose the budget-friendly in-stock option. It’s painted with the factory paint to match the rest of the cabinets, so the cabinet looks right at home in the space. Unless I point the difference out to people, I doubt they’ll ever notice–except the days I’m second guessing my decision, and on those days I’m sure everyone notices…
STEP BY STEP
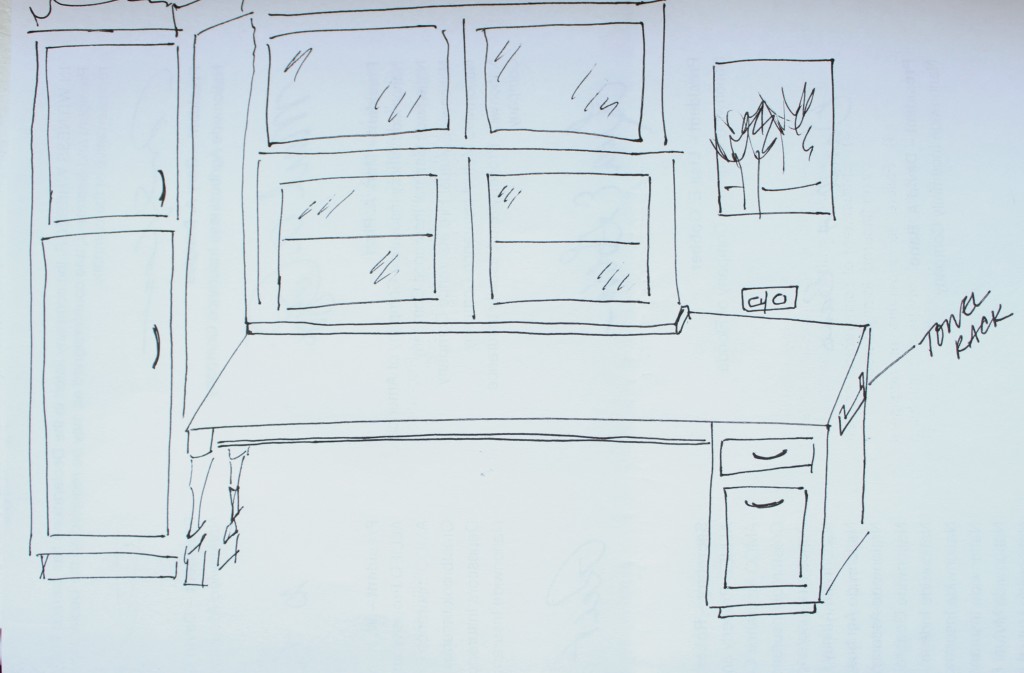 Step 1 \\ We sketched the design. Side note: Ben actually sketched the original design, but I forgot to take a picture of his sketch. When I told him I needed him to sketch it again so I could post a picture for you all, I got the most “you are ridiculous” stare. So unfortunately that means you’re looking at my version of the island design sketch. It’s absolutely laugh worthy, but it got the job done in communicating my vision for the island to Ben. :)
Step 2 \\ We approved the design with our counter-top installers, to be sure the peninsula base would be sufficient to hold the weight of the stone counters. (Details on the counters coming next week!!) And we got a solid A-Okay to go ahead with the design.
Step 3 \\ We head to the hardware store to pick up the materials (all in stock materials).
Step 4 \\ We set the cabinet base in place and took measurements for the counter-top frame build.
Step 5 \\ We built the counter-top grid frame of 2×4’s.
Step 6 \\ We set and anchored the newel posts, which provide basic support to the left end of the peninsula. (Side note: the peninsula base is also anchored to the pantry cabinet, for extra reinforcement.)
Step 7 \\ We attached the counter-top frame to the cabinet base, newel posts, and pantry cabinet.
Step 8 \\ Then we added a piece of base molding (which matches that used in the cabinetry crown) to the front of the 2×4 frame to provide a finished edge.
Step 9 \\ Installed the pull out garbage kit.
Step 10 \\ Painted
Step 11 \\ Counter Install!!!
You get to see a peek of the new countertops and floors in these photos. I LOVE THEM! We’ll talk behind-the-scenes details of the countertops, flooring, and kitchen sink details next week… Until then, I never want to leave this spot. ❤