I’m feeling a little light-headed right now. But check me off for having accomplished [maybe not particularly gracefully, but accomplished nonetheless!] my first ever egg-blowing! Which is as awkward and messy as it sounds, but somehow rewarding nonetheless. I’m earning my Crafting-Badges here, slowly but sure! [Sidenote: Crafting badges aren’t real. I mean, not adult real. But as adults we could all use some badges from time to time — like the sewing and campfire making badges of our youth. So now I add to that sash an egg-blowing badge. And if you have one of those badges, by golly, where it proudly! That badge involves — if you’re a sloppy rookie like me — slimy lip-fulls of yolk, and if that isn’t Craft-Badge worthy, I don’t know what is!]
The perk of blowing-out eggs [a process for removing the yolk without breaking the egg] is that you can keep your decorated eggs for future Easter decorating. But if the idea of keeping the eggs isn’t necessarily important to you, go hardboiled! Cause egg blowing, well it’s a bit time consuming and messy . . . [but badge worthy!]
That said, it’s not a terribly difficult process. Though it might leave you a little light-headed. [It could be my rookie-technique.] Who knew blowing the egg yolk/whites out of an egg would take so much, well, blowing?!
HOW TO BLOW-OUT AN EGG FOR DECORATING
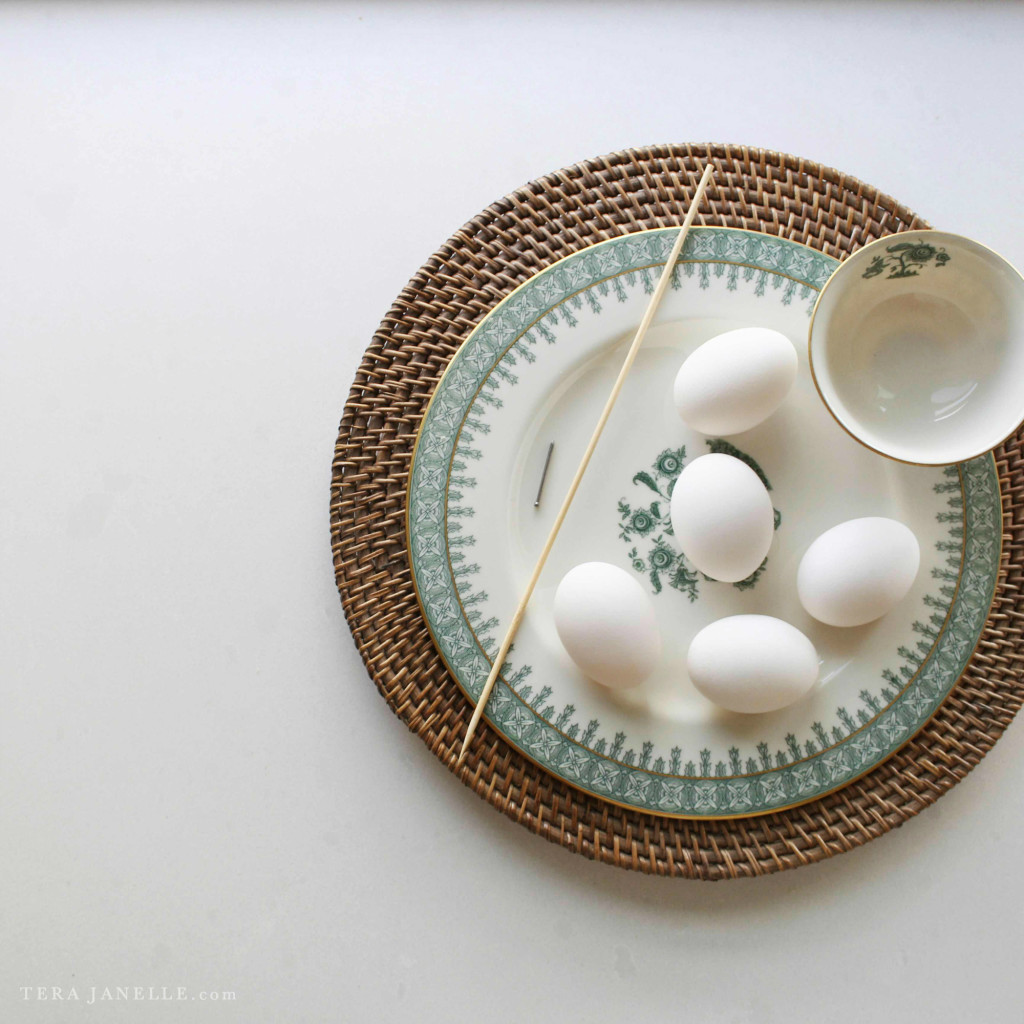
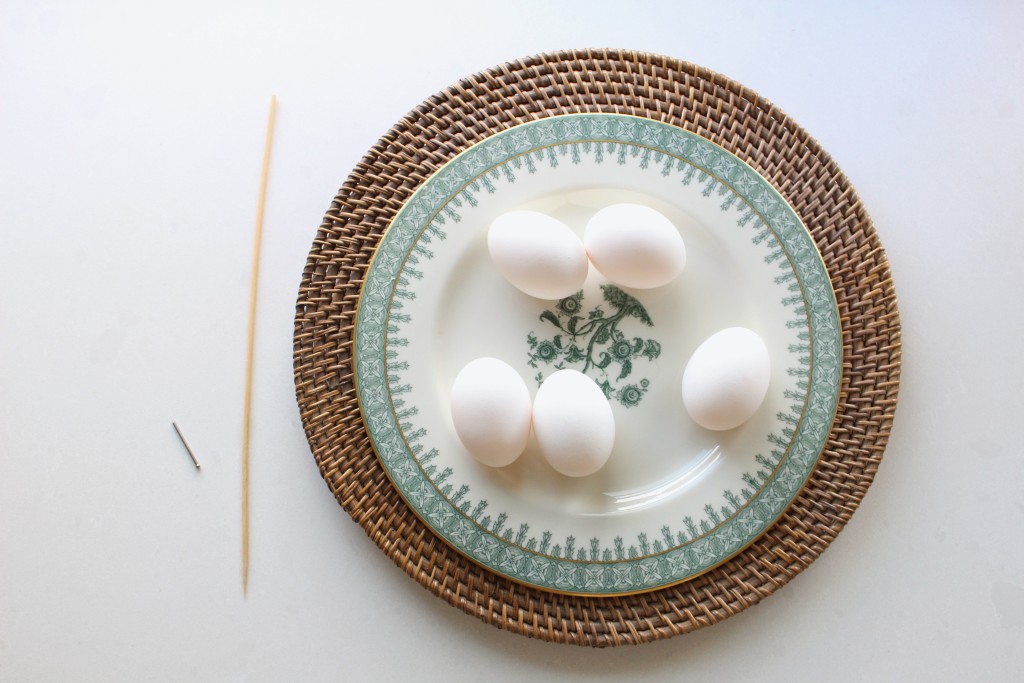
MATERIALS:
Dozen eggs
Bowl
Nail, push pin, or metal skewer
Bamboo skewer or long toothpick
STEP 1 \\ Wash the eggs and let dry.
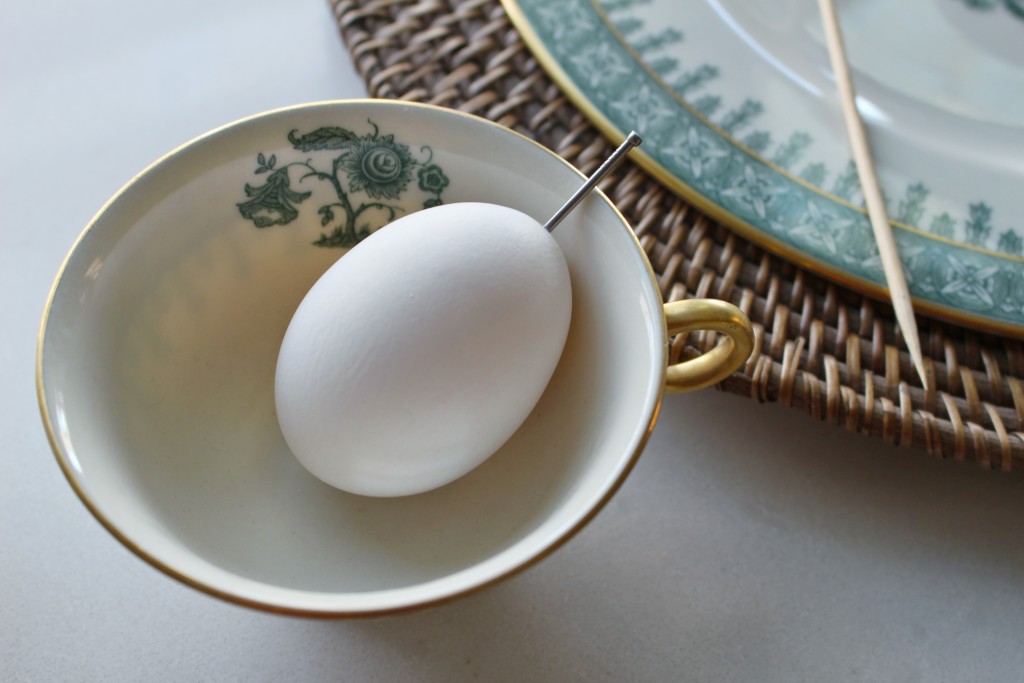
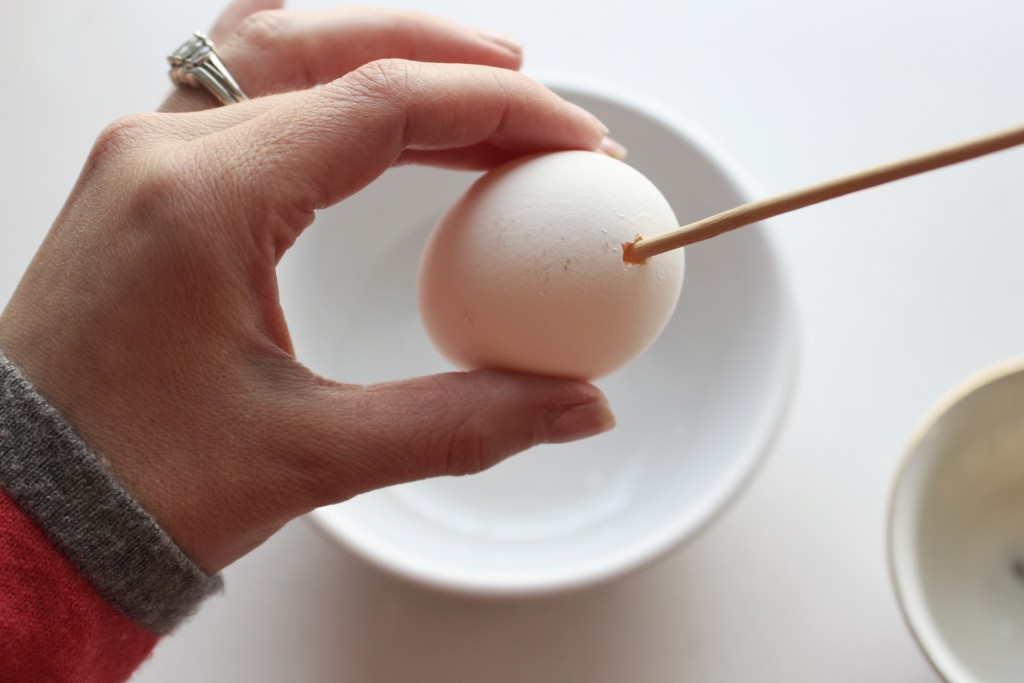
STEP 2 \\ Press and twist with the pointy end of a nail/skewer/push pin. If the egg is stubborn [and goodness, some of them are!] then tap the end of the egg lightly on a hard surface until you hear that hairline crack. The crack will generally be imperceptible after dying/painting, and provide some “give” so you can create the first, push-pin sized hole.
STEP 3 \\ Turn the egg over and repeat on the oblong end. Make the second hole 2-3 times larger than the first. [I prefer the bigger whole on the wide-end of the egg.]
STEP 4 \\ Stick the bamboo skewer or toothpick into the egg and wiggle it around to break the yolk.
STEP 5 \\ Put your mouth to the smaller hole, and blow! I wish I had known this for the first seven eggs! I watched this funny and informative tutorial from LilyShop.com, and they offered a great foundation for blowing the eggs, EXCEPT the part where they say blow on the “larger hole.” Oh no, that’s wrong. Blow on the smaller hole, so much easier. But I didn’t learn that until egg 7, hence the lightheadedness. :) [Tip: You can also find some clever tricks on Pinterest for using a medical syringe or syringe bulb for blowing out the eggs, but I gave-it-a-go the good old fashioned way. Has anyone tried the syringe or bulb syringe method? Is it really all that much faster, or just – well – less gross? ]
STEP 6 \\ Troubleshooting: Some eggs are entirely accommodating. Others fight the whole blowing-out process with gusto. When you hit one of those gusto eggs, repeat Step 5 and again wiggle the skewer to loosen up the insides of the egg.
STEP 7 \\ Rinse out and off the eggs and let dry. [Use the skewer as a chase the water can travel down if any water is left inside the egg after rinsing.]
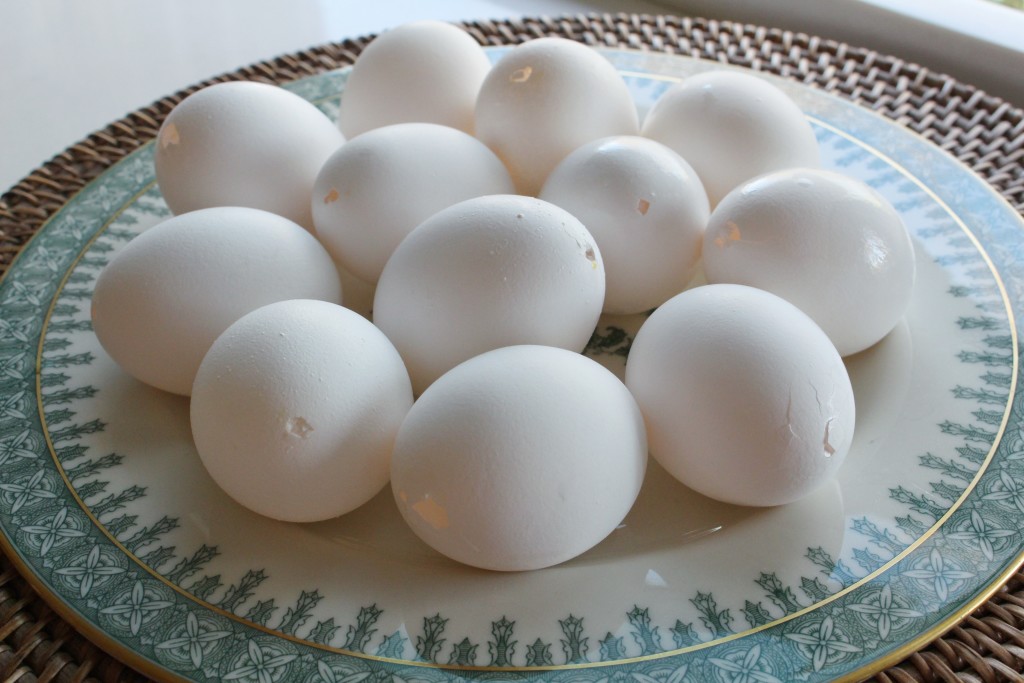
A half-hour to an hour later, you’ll have twelve blown-out eggs ready for decorating! I got a little impatient [can I blame it on the lightheadedness?], so I have a few cracks and larger holes than I would have liked. But luckily I’m planning to marble-dye these eggs, which I’m hoping will be very forgiving. Instructions for the naturally-dyed Marbled & Bronze eggs coming to the blog tomorrow! [ Hint: grape juice & vinegar, who knew?! ]
