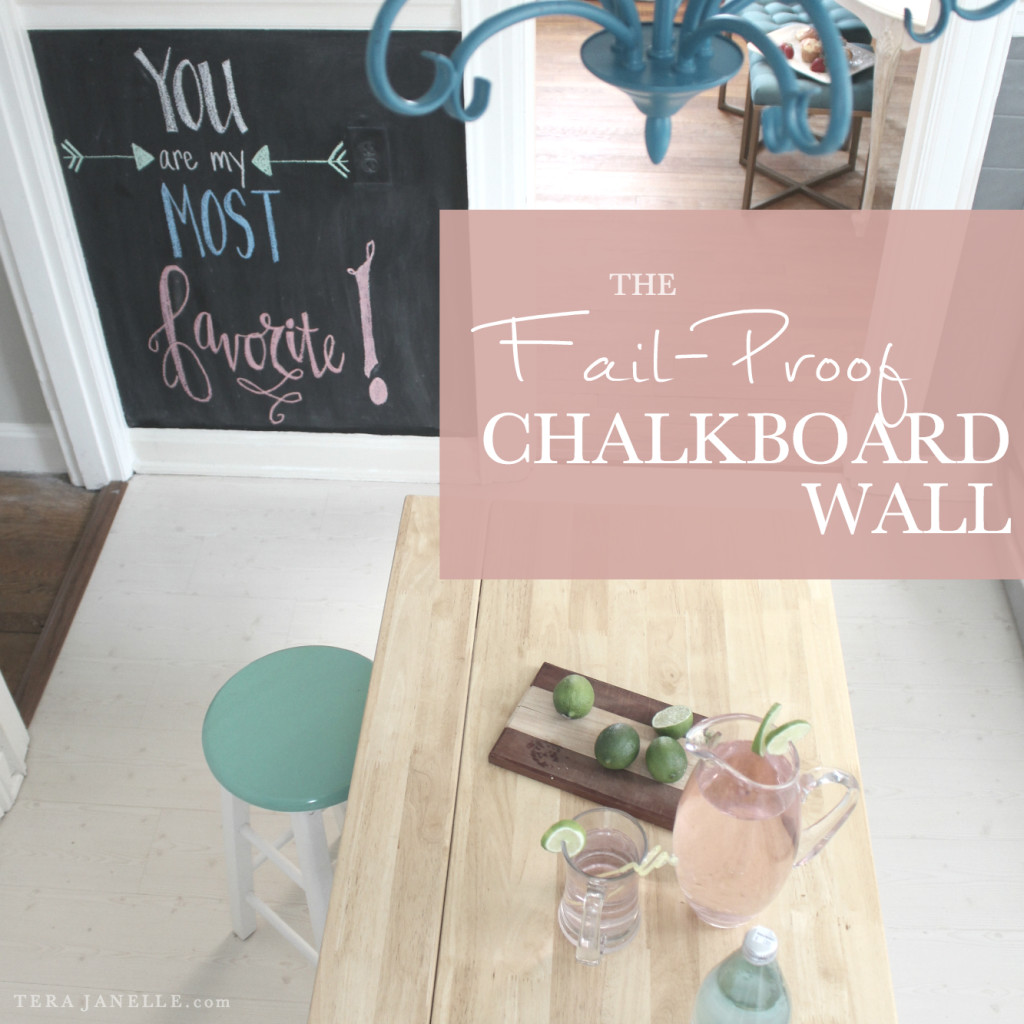
By fail-proof, I mean FAIL-PROOF. If you can paint a halfway decent wall, you can create this chalkboard wall. I know because after hours of reading online tutorials on how to prep and paint a chalkboard wall, I abandoned all but a few basic tips, and this little creation at the DAVE + AUDREY ended up quite lovely regardless!
STEP 1 \\ Wipe down the wall.
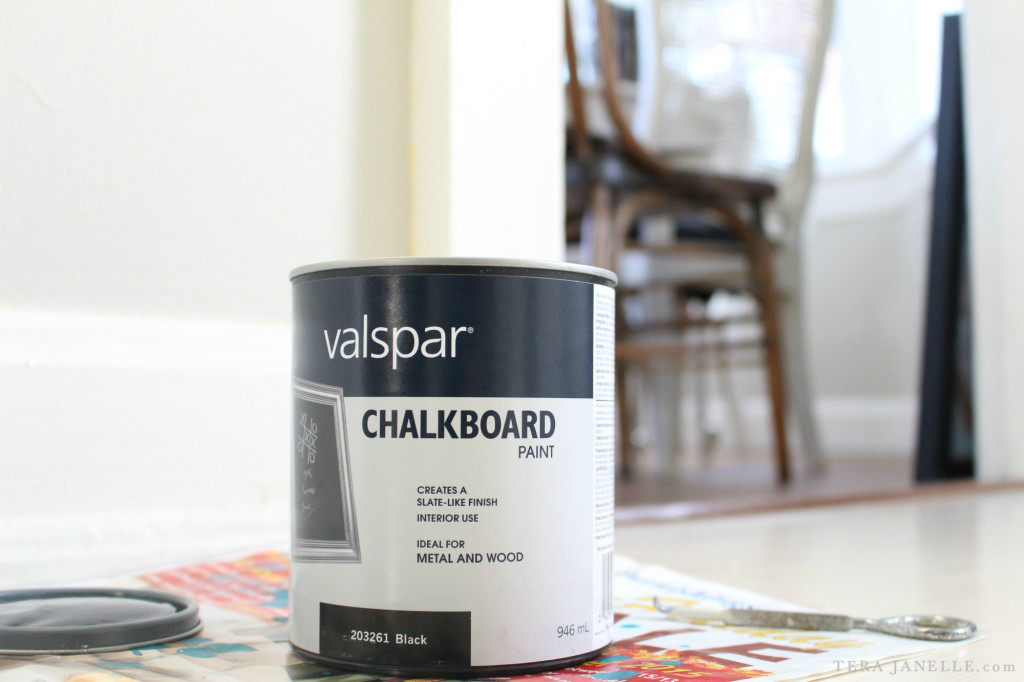
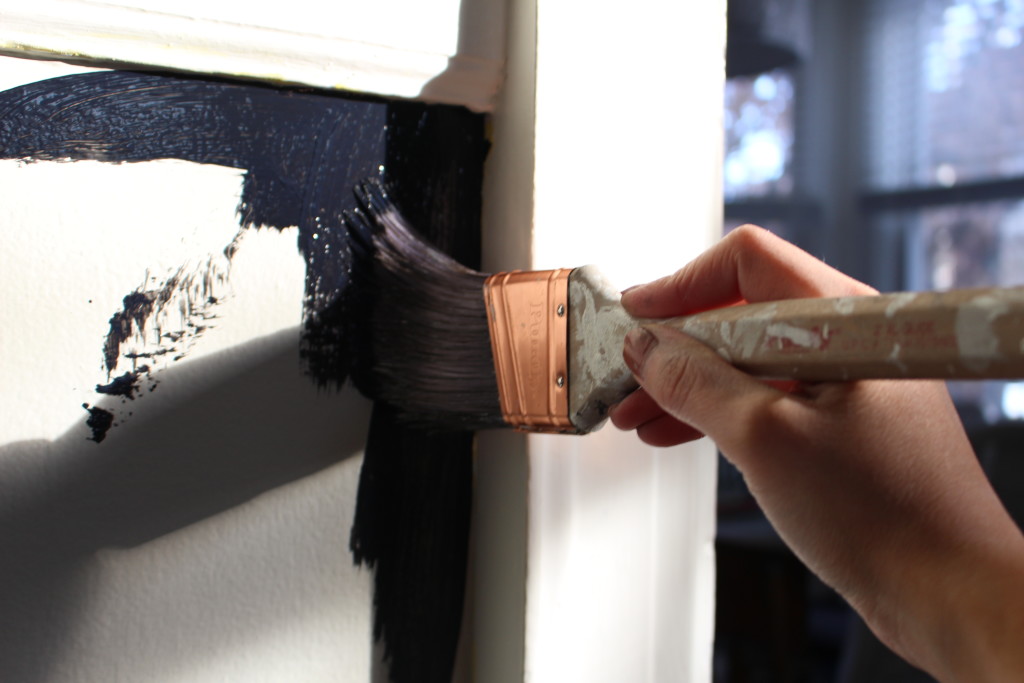
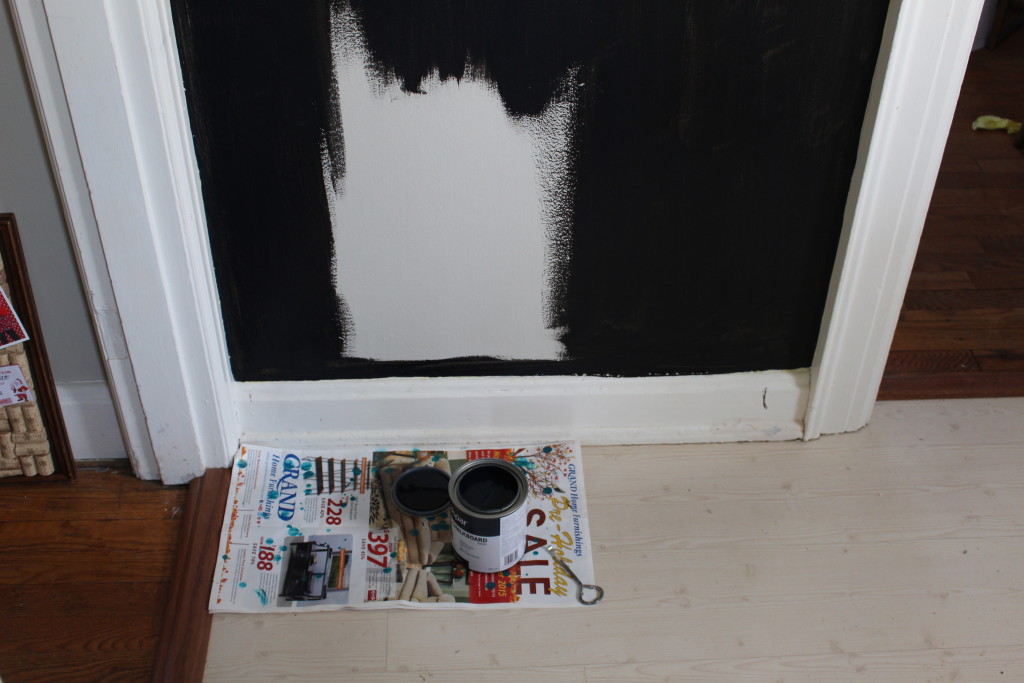
STEP 2 \\ Paint with three coats of chalkboard paint, waiting at least one half hour between coats. [We used Valspar chalkboard paint.] Use a foam roller if you are concerned about brushstrokes, but this 1930’s wall had been so well-loved, brush strokes were little worry.
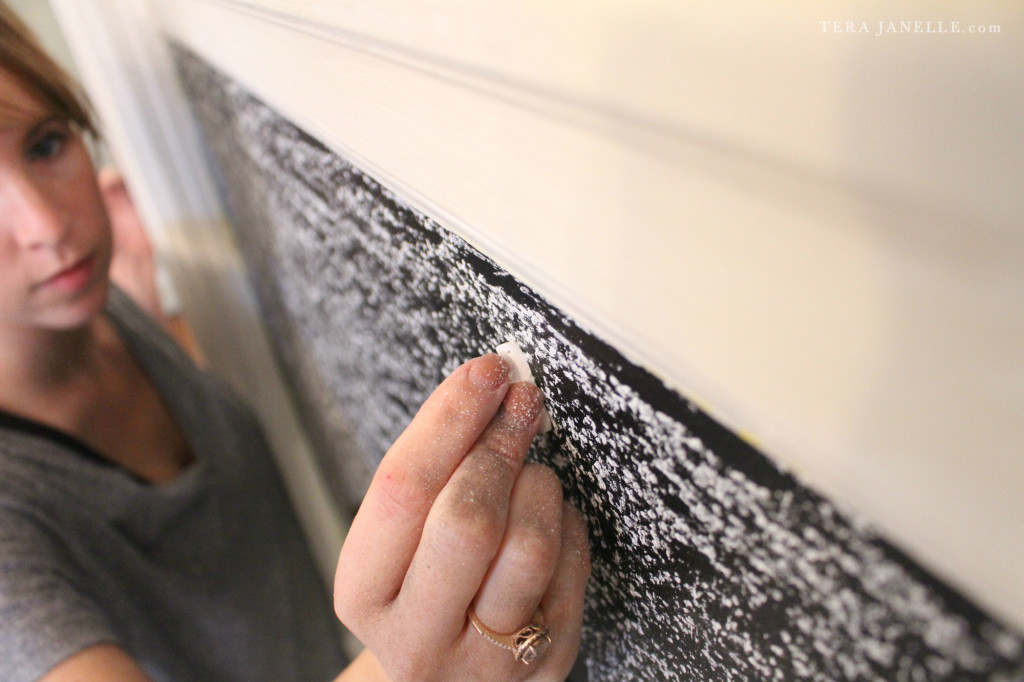
STEP 3 \\ “Prime” the wall by rubbing thoroughly with chalk and then wiping away the excess. This will help make erasing much easier, preventing your chalk writings from leaving behind annoying residual marks.
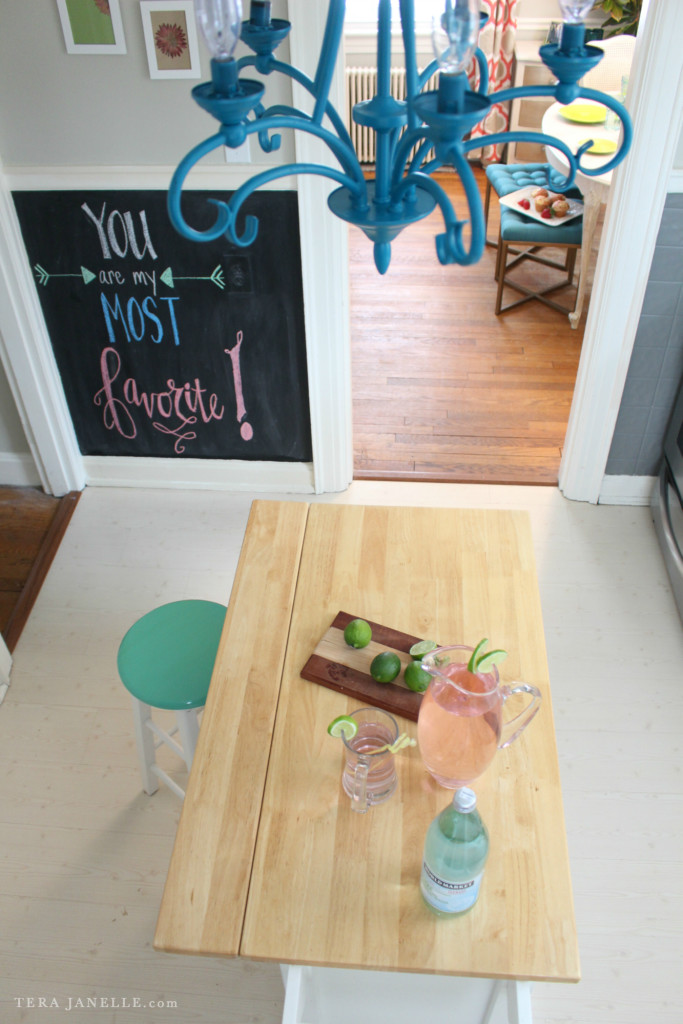
STEP 4 \\ Get creative! I was inspired by this design at Neat and Tangled.
STEP 5 \\ Clean up. I’ll be honest, chalk is messy. That said, I was using chalk the homeowners already had on hand. They’ll want to invest in dustless chalk down the road if they use the chalkboard on a regular basis, and I sure hope they do! They are artistic and sentimental and seem precisely like chalkboard-kind-of-people [is that a people category?]!
Dave + Audrey’s chair rail and moldings framed this chalkboard quite nicely, but you can always section off a larger expanse of wall with some inexpensive trim boards.
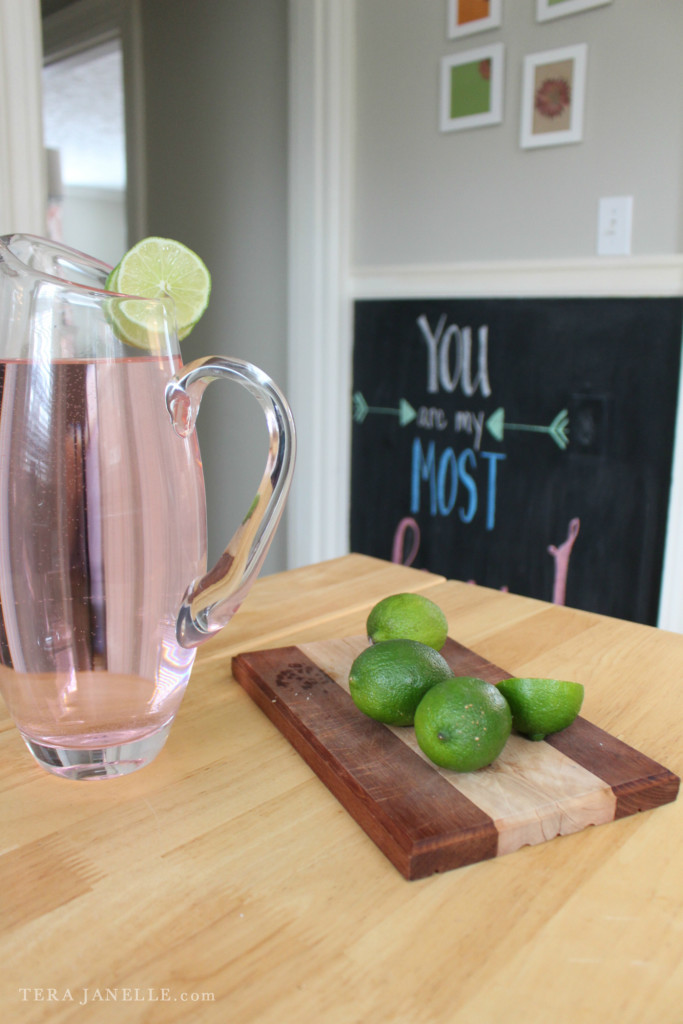
I was worried the chalk would struggle with the bumps and texture of this “well-loved” wall. However, the time and effort it would have taken to try to sand and spackle to achieve a smooth surface [if ever], was not at all practical and luckily not necessary! The chalk takes to the texture of the wall quite effortlessly. The hardest part of the project was — hands down — picking a chalk design. [Thank you to Neat and Tangled for the inspiration!]



I’d love to know how you went about drawing your chalkboard design. Did you free hand or set up a grid? I’ve seen some overly complicated tutorials on this and am hoping there is an easier way. Also, did you know they make chalk markers? No chalk dust and clean lines.
Oh, I tend to make things so entirely worse if I try to precisely prepare (ie. using sketch grids, measuring distances between photos for a gallery wall). Winging it seems to be my best route.
So for the chalkboard I first freehand the pattern lightly with gray chalk (because it was the color that disappeared best best when I colored over it with another chalk color), all the while looking at a picture on my phone of the Neat & Tangled inspiration photo. And I relied heavily on my damp rag eraser along the way! :)
Chalk makers – genius! Oh to avoid the chalk dust! Thanks for the reminder those little guys offer the key to a dust-less chalkboard experience!