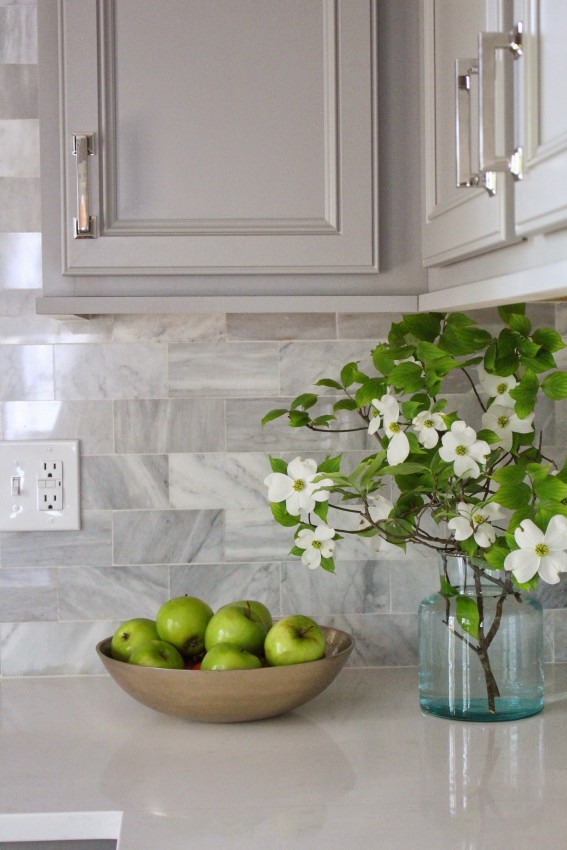
It is officially week 5 of Calling It Home’s One Room Challenge. But a confession, we got a head start on this project several months ago, because when it comes to kitchen remodels, there is so much waiting. 6 weeks for cabinets to arrive, 2 more weeks til cabinet install, 3 weeks for counter template and production = we cheated a bit to get a head start! Thank you for following along and picking up with us midway in this knotty pine kitchen renovation! :)
___________________________________________________
Well it is the final stretch of our “Knotty Pine Kitchen Goes Classic” One Room Challenge. The major design elements of the kitchen have come together, but now I’m feeling the pressure to tackle those finishing details! Those details that on our own home usually drag out, well . . . months, or years. So it’s nice to have a deadline to hold me accountable to tackling the little stuff – like touch up paint and finishing trim. If you’d like to catch up on the kitchen renovation process so far…
Week 1 / Week 2 / Week 3 / Week 4
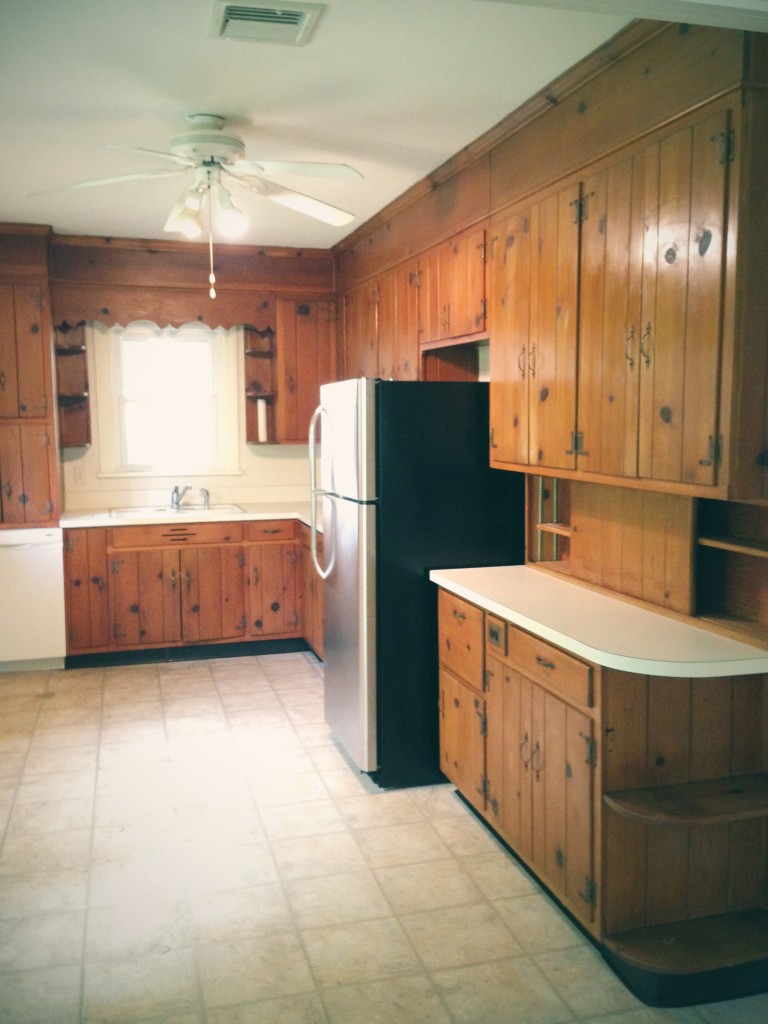
The Before
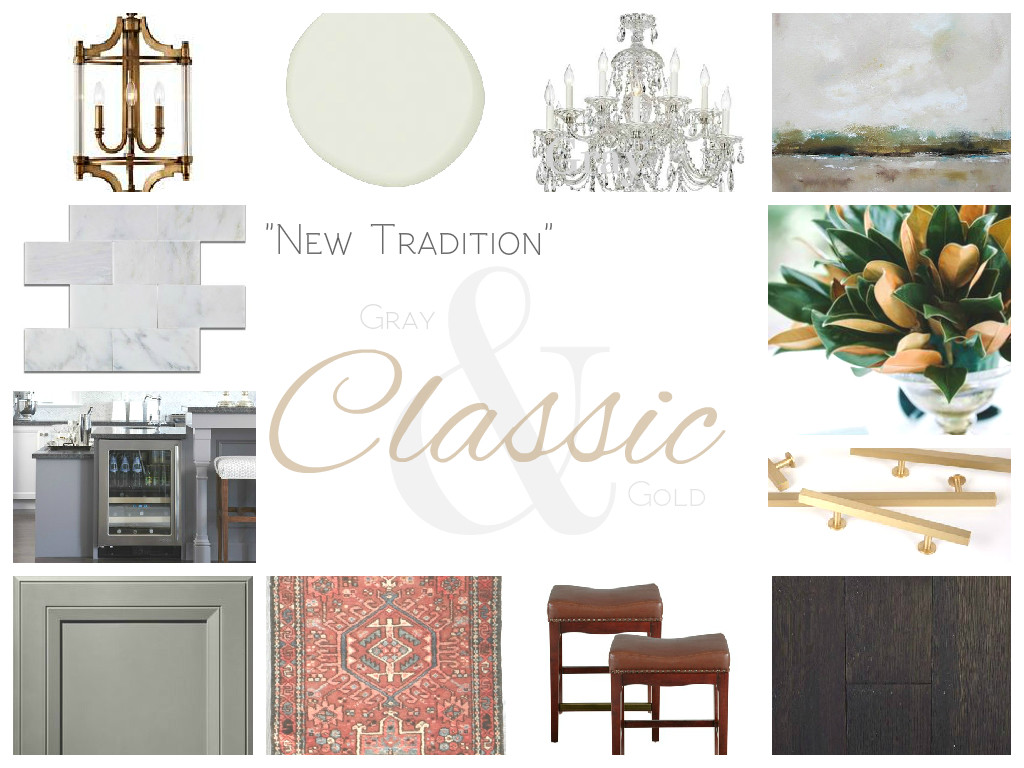
The Design Plan
So far, we knocked out the :
“Wood” Floors
Gray Cabinets & Crown Molding
Quartz Counters
Single-basin Undermount Sink – “The Beast”
DIY Island/Peninsula with pull-out garbage & recycling center
And now, this!!! THE BACKSPLASH
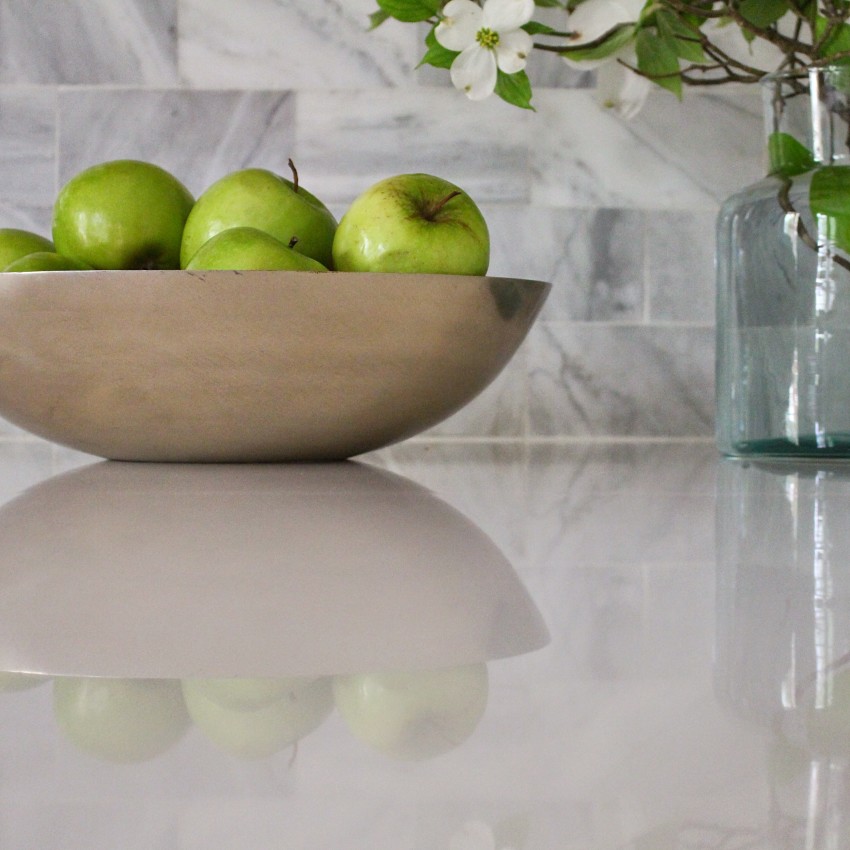
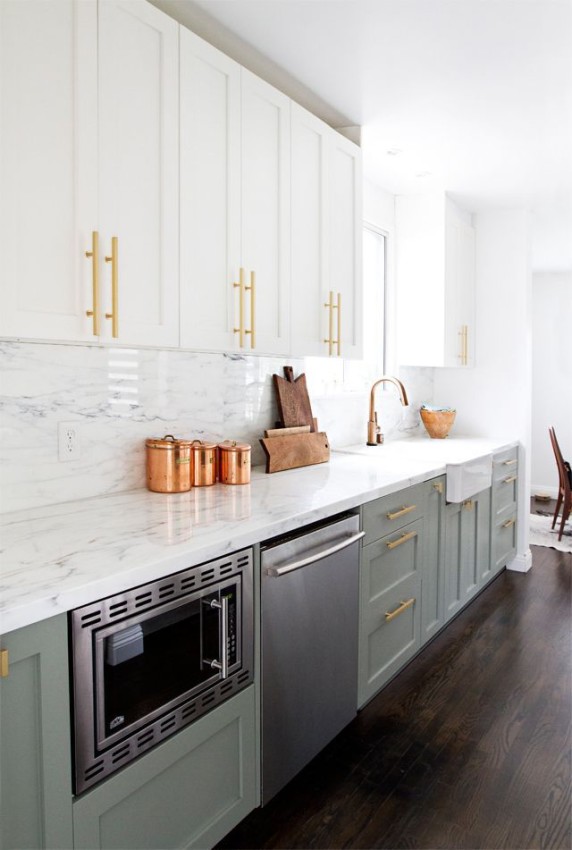
The “Venatino” marble 3×6 tiles are a stock item at our local Lowes. I laid out and sorted the tiles ahead of time, pulling out the broken or oddly-colored tiles, and organizing them so there was a blended mix of grays and whites throughout. It’s a tedious process, but worth it! Some years ago we had a professional tile installer who did a great tile install job, but he was simply installing them one-by-one as they came out of the box. As a result, there were globby-sections of very white tiles, and random orange tiles… luckily I went by to check on the process before he had gotten too far along, so we were able to fix it. But since then, the sorting process or a tile guy with trusted skill in artisty and installation are an important part of our backsplash install process. :)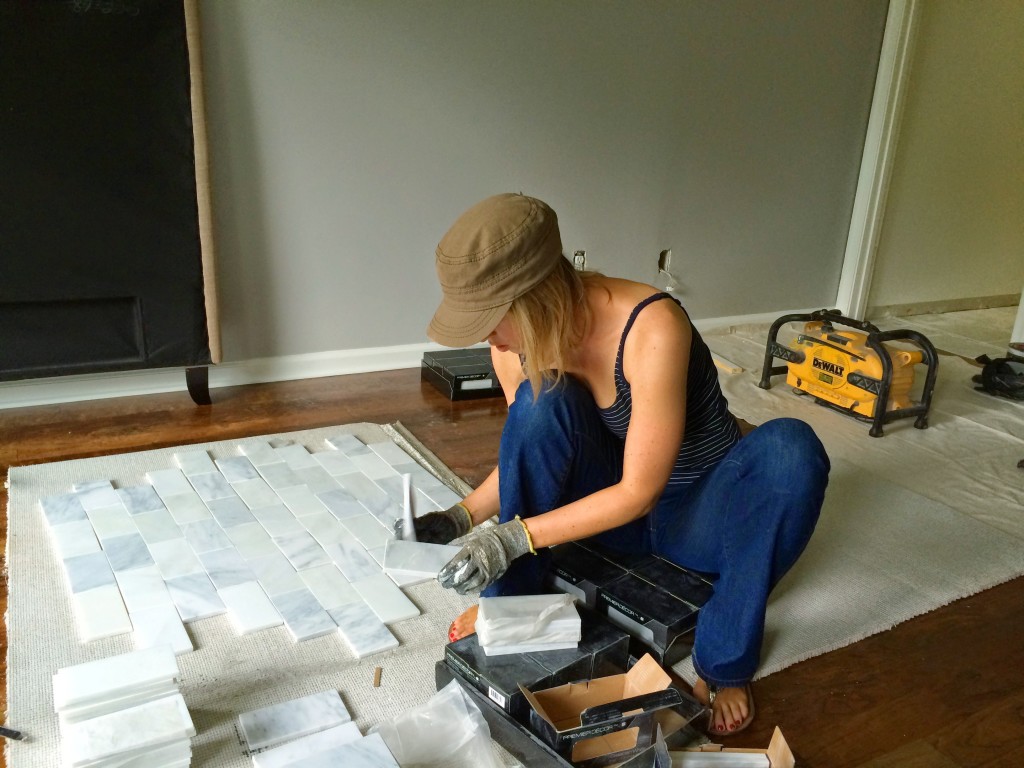
We took a design-splurge-risk and ran the marble tile up to the ceiling above the sink. It was absolutely worth it. Lovely, lovely, lovely!
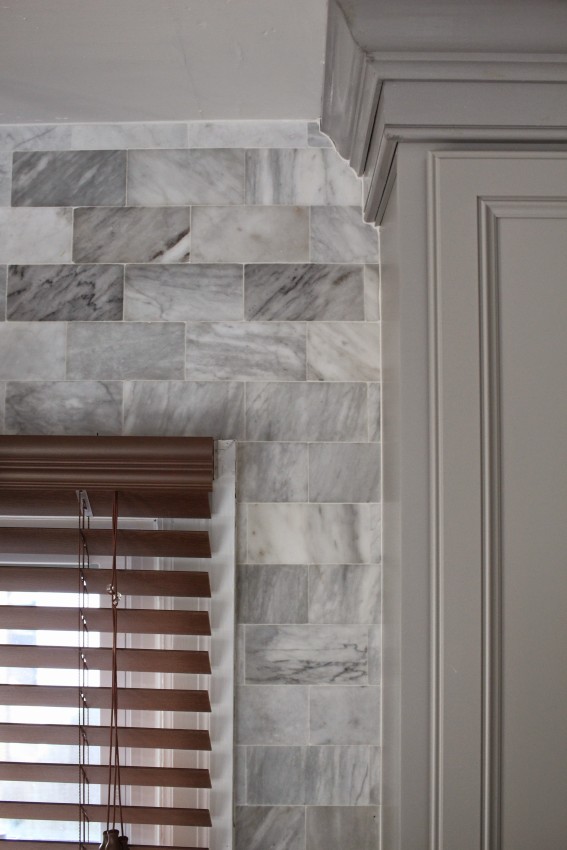
We used white, unsanded grout (be sure to use unsanded with natural stone) and a grout-protecting additive to prevent the white grout from staining. We’re not fans of grout lines, especially in a kitchen, but they are generally a necessary evil of tile install. However, our installer assured us he’d done installs for years (particularly in older, character homes) without spacers, resulting in very sleek, minimal grout lines. I spent a good 20 minutes Googling before I finally said, “If you’re sure it’s okay – go for it.” I really didn’t know what to expect of the final result, but we LOVE it! If you like the minimal grout-line look but are hesitate about omitting spacers – these spacers have previously been our go-to choice. They are heavy-duty, reusable, and provide ultra-skinny grout lines!
UNDERMOUNT LIGHTS
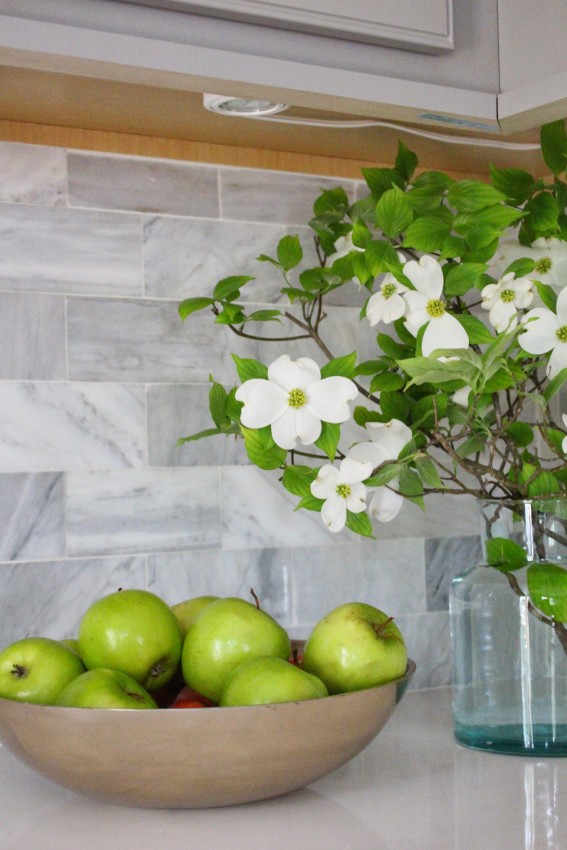
We also installed undermount cabinet lights. Thank the Lord for a brilliantly handy husband. Seriously, undermounts are NOT negotiable in our kitchen. For only $85 they give the kitchen an extra dose of luxury and bounce light off the polished marble in the most beautiful way!
CABINET HARDWARE
On the hardware front, I’d planned all along to use antique gold pulls and handles…
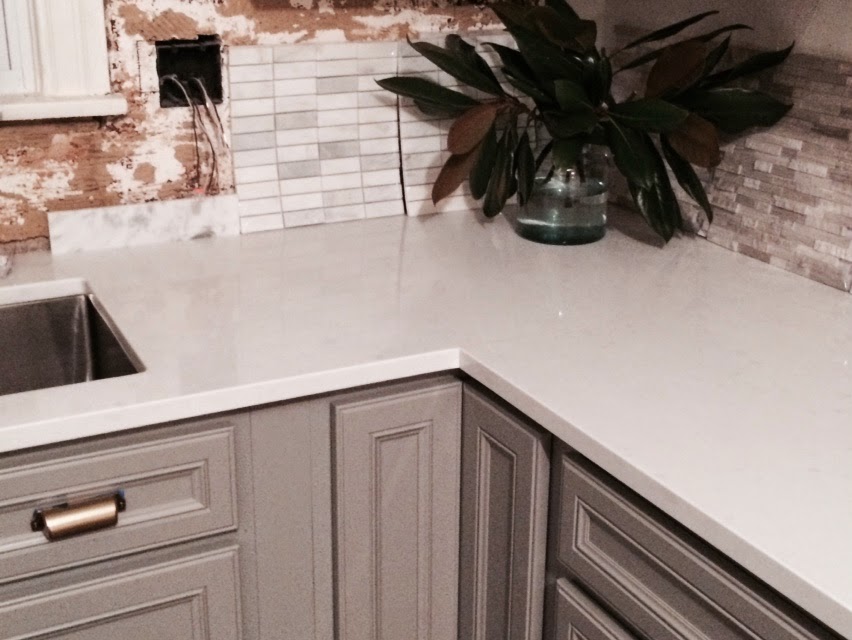
But I couldn’t find handles that coordinated with these pulls, and as the kitchen came along, I started leaning towards polished nickel hardware. The design throughout the rest of our home balances modern and classic, but the kitchen was beginning to look lovely and classic, yet lacking those elements of clean-lines and modern shiny metals throughout the rest of the home. So after pain stacking narrowing down of 15 hardware options, I chose Hickory Hardware’s Studio Polished Nickel pulls in 3″ and 3 3/4″ sizes. We used the larger pulls for the tall cabinet doors, and the 3″ pulls for the smaller cabinet doors above the microwave, fridge, etc.

But I’m a little heartbroken over abandoning the antique gold hardware. So I’m working like a gold-crazed-blogger — there are a lot of us ;) — to bring gold-tones into the kitchen in other ways. I’m specifically on the hunt for a brass or gold-toned pendant light, storage canisters, and additional bowls. Maybe a little something like these beauties from Smitten Studio…
So cheers to you this Thursday, to the gold/brass hunt, the last week before reveal – and all the chaos left to ensue! :/
In the meantime, check out the other One Room Challenge participants!


This is going to be so good…can’t wait to see the finale!!
Simply beautiful! I can’t wait to see the final reveal! :)
Oh that backsplash is totally fabulous. I love it. Can’t wait for the reveal.
Oh, I love it too! Thank you!
Beautiful! Your kitchen will be stunning!
Thank you, Natasha. One more week! :/ Can’t wait to see your laundry room reveal!
Oh, I have serious tile envy! We recently updated our kitchen and I went with plain subway tile and I have since which I had done marble. SO gorgeous!! I love brass kitchens too, but I think the silver you show is very attractive too!
Leslie, thank you! Two houses ago I did a white subway tile backsplash as well (gray grout, I thought it was modern yet classic and pretty lovely), but my husband made me promise never to stray from marble again! If it works, it works, I suppose! :) And I still have a bit of regret from straying from the original plan in this kitchen to use gold hardware, but I’ve been sourcing gold styling and lighting options like a one-week-left-in-the-challenge-madwoman… Fingers crossed it all comes together!
Your kitchen is looking stunning. Can’t wait for next week’s big reveal so we can see everything!
Eeekks, thank you Erin! Down to the wire! :)